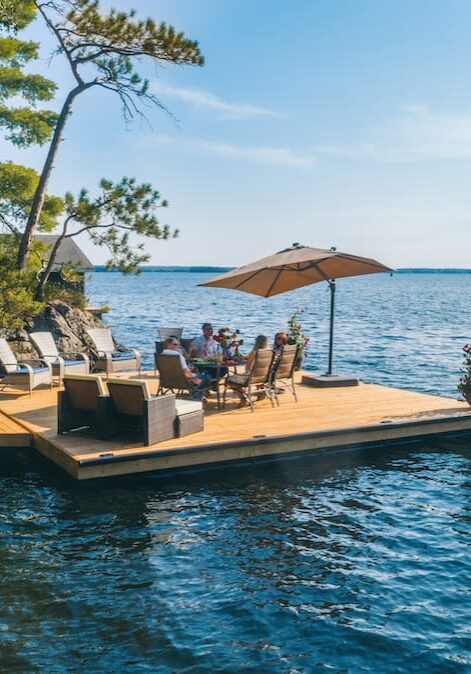
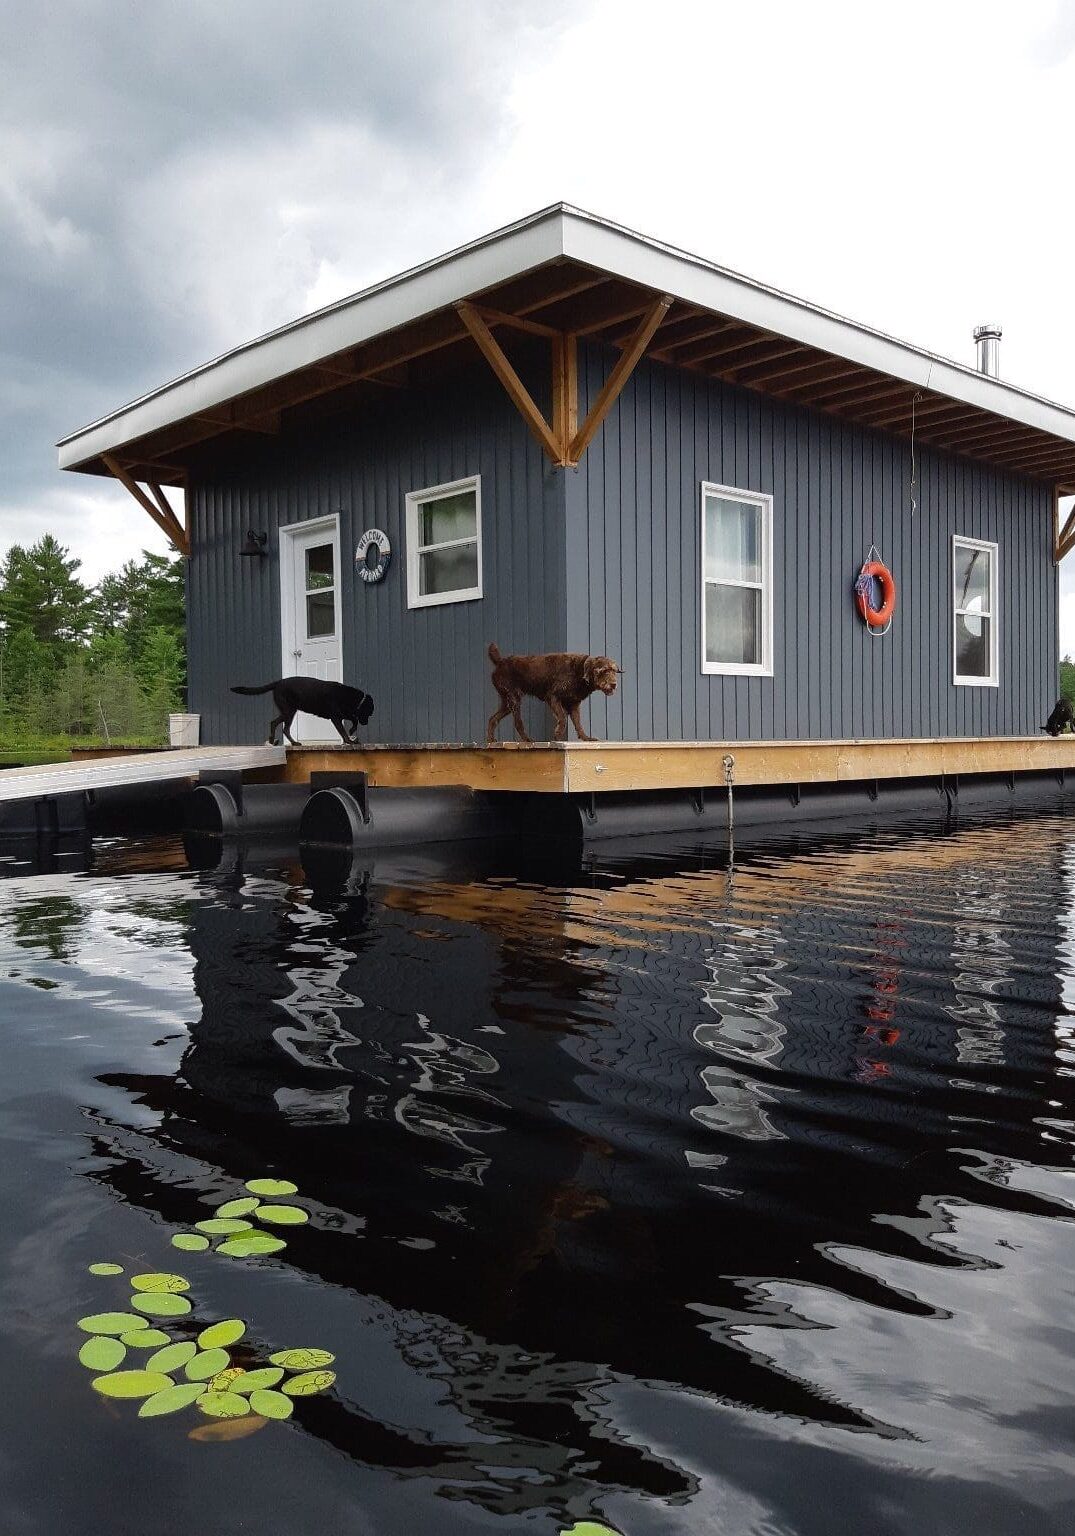
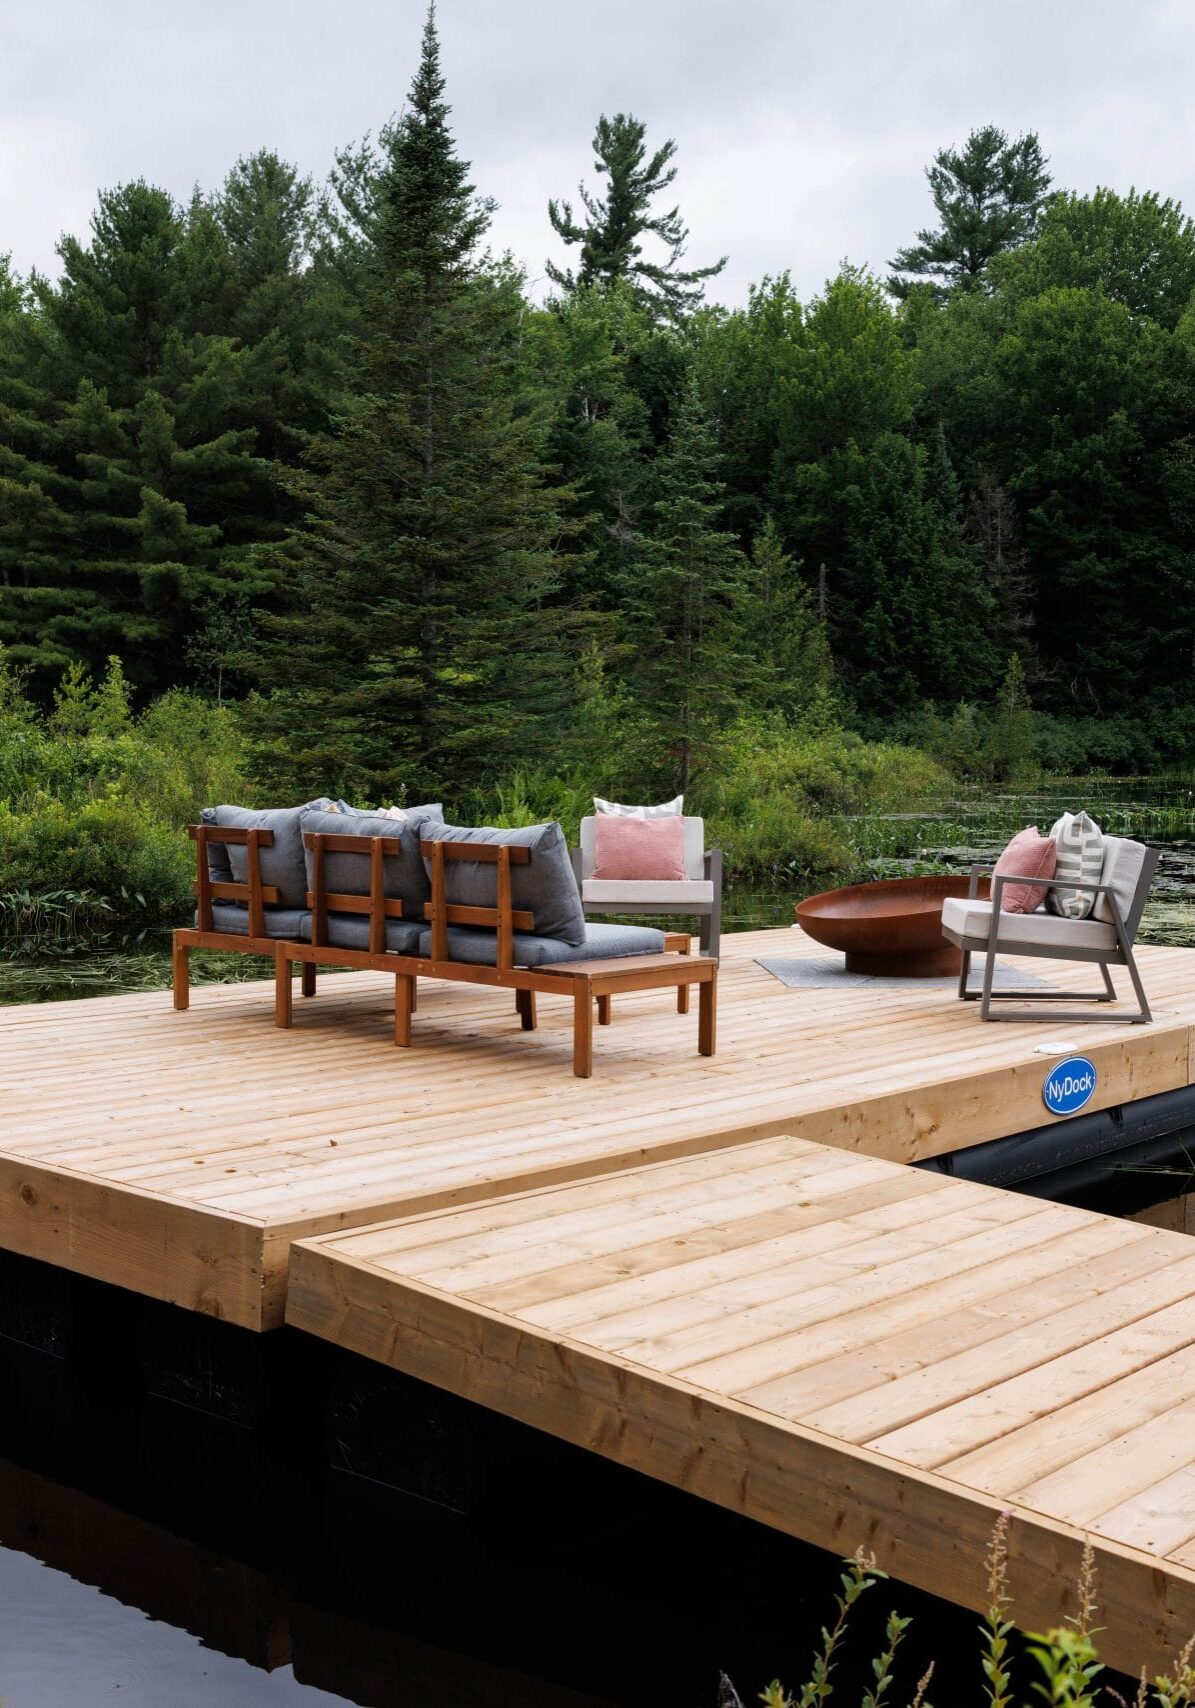
Have you ever imagined having your own peaceful retreat on the water—a place to relax, fish, or simply enjoy the view? Building a floating dock might be more achievable than you think. Let’s explore how you can turn that vision into reality.
Why a Floating Dock?
Floating docks offer flexibility and convenience that fixed docks can’t match. They adjust effortlessly to changing water levels, making them a practical choice for fluctuating conditions. Installation is straightforward—no need to deal with the challenges of setting pilings or building rock-filled cribs in the water—making them ideal for both seasoned DIY enthusiasts and beginners. Plus, a floating dock is a valuable addition to any waterfront property, enhancing both its functionality and enjoyment.
Planning Your Dock: Get Organized Before Your Build
Before diving into construction, take time to plan every detail to ensure your dock meets your needs.
- Purpose: Determine how you’ll use your dock—whether it’s for fishing, swimming, or mooring a boat. This will guide the size, layout, and features you’ll need.
- Dock Type: While this guide focuses on floating docks, it’s helpful to understand the differences between floating, permanent, and seasonal docks to choose what’s best for your location.
- Design and Size: A typical floating dock setup includes fixed, semi-floating, and floating sections. When deciding on size, consider the number of people and the size of the boat it will accommodate. If unsure, go slightly larger—docks often appear smaller once installed on the water.
- Budget: Floating docks typically cost $30–$50 per square foot. Include materials, hardware, floats, and finishing touches in your calculations. This can vary quite a bit depending on your choice of wood or composite decking.
A well-thought-out plan ensures your dock is functional, safe, and tailored to your needs.
Gathering Your Gear: Essentials for Building a Floating Dock
Before you dive into construction, make sure you have all the tools and materials ready for the job. Here’s what you’ll need:
- Lumber: Opt for pressure-treated wood for the frame and decking or consider cedar for a natural look. Composite decking is another excellent choice for its durability and low maintenance. If possible, choose marine-grade, eco-friendly materials to minimize environmental impact.
- Dock Floats: These provide the buoyancy your dock needs. HDPE pontoons by NyDock are a top pick for their durability and resistance to cracking, as well as their environmentally friendly design. Foam-filled floats and even plastic barrels can also work but ensure the size and buoyancy of your floats align with your dock’s intended load and the size of your boat. Be cautious of thin-walled, foam-filled floats which will inevitably become cracked and waterlogged over time and risk spilling the foam into the environment.
- Hardware: Durable, corrosion-resistant galvanized steel hardware is essential. Stock up on bolts, nuts, washers, lag screws, eye hooks, and dock hinges. Consider a dock hardware kit to simplify the process and ensure you have everything you need.
- Tools: Equip yourself with essential tools such as a saw, cordless drill, wrenches, and measuring tape. A circular saw with a guide can help you achieve precise cuts for a polished final product.
- Safety Gear: Always prioritize safety. Wear gloves, eye protection, and hearing protection while working to protect yourself throughout the project.
Having the right materials and tools will set you up for a smooth and successful dock-building experience.
Building Your Floating Dock: Step-by-Step Guide
Time to turn those blueprints into a floating masterpiece! Follow these steps, and you'll be chilling on your dock in no time.
- Construct the Frame: Use your lumber and hardware to assemble the frame, starting with temporary screws to hold things in place before securing everything with heavy-duty dock hardware. Check that the frame is square by measuring the diagonals—they should be nearly identical.
- Attach the Floats: Install your floats onto the frame, then secure them with the manufacturer’s suggested hardware. HDPE pontoons make this step straightforward with predrilled holes.
- Install the Decking: Lay your decking boards on the frame, leaving small gaps between them for drainage. Use screws to secure the boards, ensuring the lines are straight for a professional look. Trim overhanging edges for a clean finish.
- Add Fixed and Semi-Floating Sections: Construct any additional sections and connect them with dock hinges for flexibility and durability.
- Anchor the Dock: Proper anchoring is crucial. Use helix anchors, concrete anchors, or pilings, depending on water depth and dock size, to keep the dock stable.
By following these steps, you’ll have a sturdy and reliable floating dock ready for use!
Finishing Touches and Customization: Add the Final Details
With the structure complete, it’s time to personalize your dock and ensure it’s both functional and inviting.
- Personalize Your Dock: Add benches, railings, cleats, lighting, or fishing rod holders. Experiment with decking materials, patterns, or colors to give your dock a unique look.
- Prioritize Safety: Use non-slip surfaces and sturdy railings. Keep life jackets or flotation devices nearby.
These finishing touches will help transform your dock into a safe, stylish, and personalized space for enjoying the waterfront.
Maintenance and Winter Care: Keep Your Dock in Great Condition
Proper upkeep ensures your dock stays safe and functional for years to come. Here's how:
- Routine Inspections: Regularly clean your dock and check for loose boards, rusty hardware, or damage to the floats. Address issues promptly.
- Winterizing Your Dock: In colder climates, prepare your dock for winter by removing it or using de-icers to prevent ice buildup.
By staying on top of maintenance and preparing for seasonal changes, your dock will remain in excellent condition.
Legal Considerations and Environmental Responsibility: Be a Thoughtful Dock Owner
- Permits and Regulations: Check with local authorities for permits before building.
- Minimize Environmental Impact: Choose eco-friendly materials and be mindful of waste disposal to protect aquatic ecosystems.
By following regulations and adopting eco-conscious practices, you can enjoy your dock while safeguarding the environment.
Enjoying Your DIY Floating Dock
Building a DIY floating dock can be a rewarding and cost-effective project. Consider using NyDock Floating Dock Kits for a simpler process with professional-quality results. With NyDock, you can enjoy a sturdy, customizable dock without high costs or complexity.


